 Owen Bradley
You can buy the most adjustable chair on the market and still slump by mid-afternoon. That is because posture is not something furniture holds for you; it is something your muscles do, and sitting for hours quietly switches those muscles off. Building core strength for posture is what turns a well-set-up workstation into an upright, comfortable day. The good news is that you do not need a gym membership or an hour a day. Five focused exercises, done a few times a week beside your desk, target the specific muscles that long sitting weakens: the deep abdominals, the glutes, the hip flexors, and the small stabilisers between your shoulder blades. This guide walks through the preparation, the exercises in order, the form cues that matter, and the mistakes that make people give up in week two.
Why Sitting Weakens the Muscles That Hold You Up
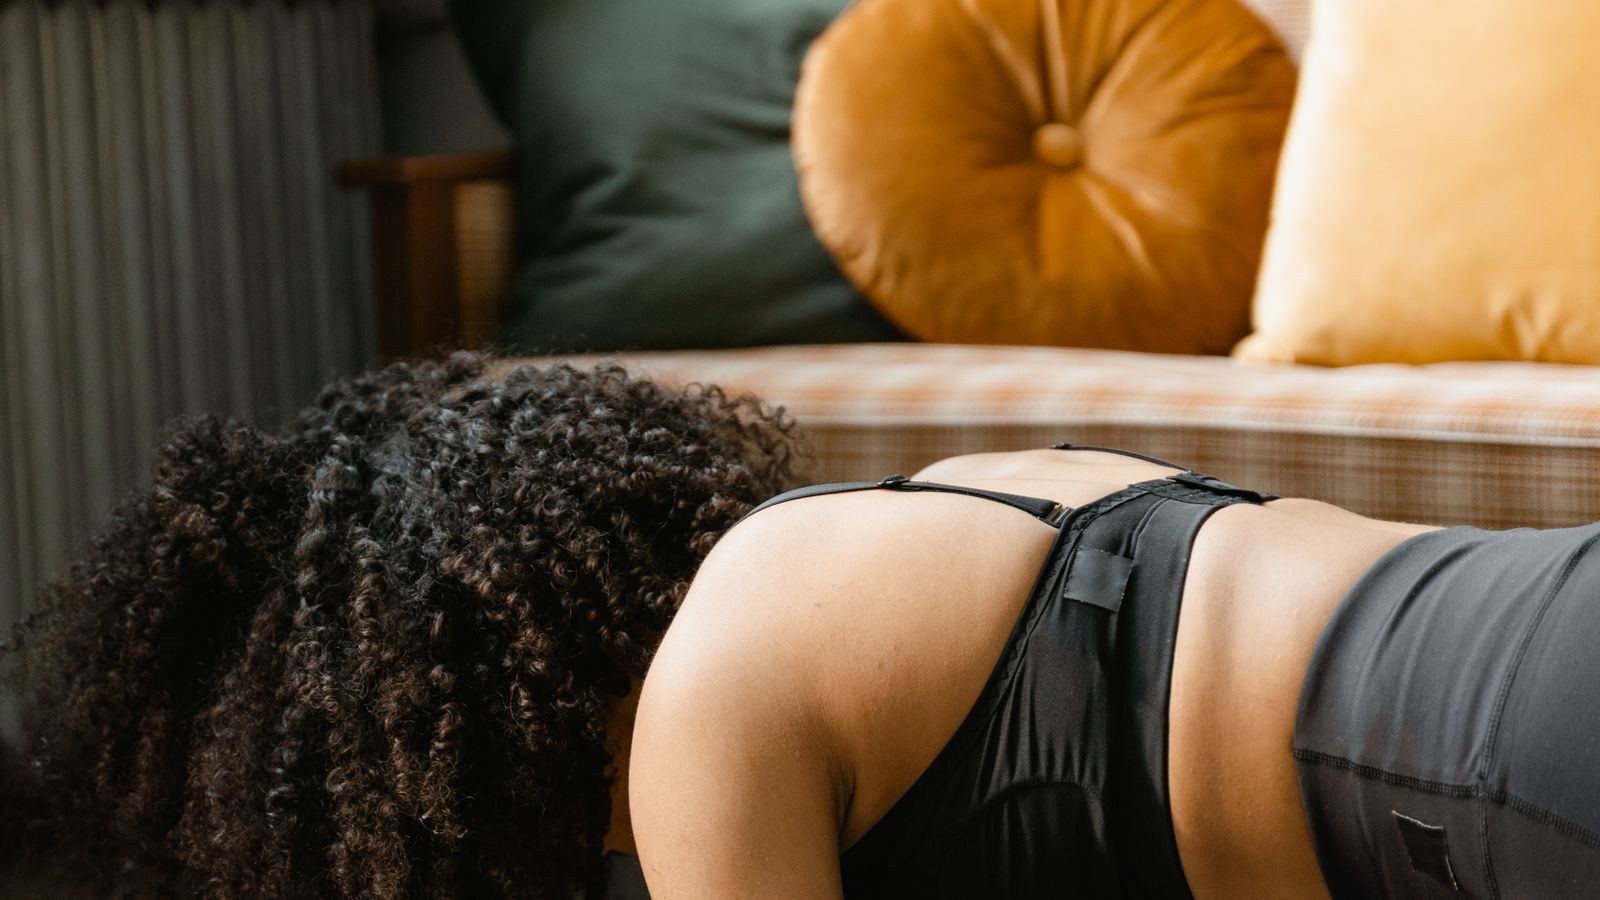
Your torso is stabilised by a group of muscles that work together like a cylinder: the transverse abdominis wrapping around the front and sides, the multifidus running along the spine, the diaphragm on top, and the pelvic floor underneath. When you stand or walk, that cylinder fires constantly in small, automatic bursts. When you sit in a padded chair with a backrest, the chair takes over the job. The muscles get the message that they are not needed and gradually reduce their resting tone.
At the same time, sitting shortens the hip flexors at the front of the pelvis and lengthens the glutes behind it. That imbalance tilts the pelvis, which drags the lower spine out of its neutral curve, which pushes the ribcage back and the head forward. By the time you notice a sore neck at 4pm, the cause is usually three joints lower down. This is why neck stretches alone rarely fix desk posture, and why the exercises below deliberately include the hips and glutes rather than just the abdominals.
Exercise builds the capacity to hold a good position; it does not remove the need for a workstation that makes that position easy. Setting the chair correctly first, using our walkthrough on how to adjust your office chair for posture, means the strength you build actually gets used.
What You Need Before You Start
- A firm surface. A yoga mat or a carpeted floor. A bed is too soft to stabilise on and will hide poor form.
- Two square feet of clear floor. Genuinely enough for every exercise here. Beside your desk is fine.
- A wall. Used as a feedback tool for two of the drills, so you can feel neutral spine rather than guess at it.
- Comfortable clothing. Anything that lets you hinge at the hips. Shoes off gives you better foot feedback.
- A timer. Your phone works. Timed holds are more reliable than counted reps for stability work.
Set aside 12 to 15 minutes, three times a week, on non-consecutive days. If you have any history of disc injury, recent surgery, or back pain that wakes you at night, get clearance from a physiotherapist first. Pain is information; it should be assessed, not pushed through.
Find Neutral Spine First
Every exercise below is only useful if your spine is in a neutral position while you do it. Neutral is not flat and not arched; it is the gentle S-curve your back holds naturally when you stand well. Learn to find it before you load it.
- Stand with your back against a wall, heels roughly four inches out, buttocks and shoulder blades touching the wall.
- Slide one hand behind your lower back. You should be able to fit your flat hand in, but not a clenched fist. If there is a large gap, gently draw the front of your pelvis upward until the gap shrinks.
- Exhale slowly and feel your lower ribs settle down toward your hips rather than flaring forward. That rib position is what keeps the deep core engaged.
- Hold for three slow breaths and memorise the sensation. This is the position you will return to on the mat and, later, in your chair.
The Five Exercises, In Order
Do them in this sequence. It moves from low-load activation to higher-load stability, which is how the nervous system learns fastest. Rest 30 to 45 seconds between exercises.
1. Dead Bug
- Lie on your back, knees bent to 90 degrees and lifted so your shins are parallel to the ceiling, arms straight up above your shoulders.
- Press your lower back gently toward the floor to remove the arch, then breathe out slowly.
- Lower your right arm overhead and straighten your left leg toward the floor at the same time, stopping before your back arches.
- Return to the start and repeat on the other side. That is one rep.
- Perform 8 to 10 reps per side, moving slowly. If your back lifts off the floor, shorten the range.
The dead bug teaches the deep abdominals to brace while your limbs move independently, which is exactly what they must do when you reach for a keyboard or twist toward a second monitor.
2. Glute Bridge
- Stay on your back, knees bent, feet flat and hip-width apart, heels about a hand’s length from your buttocks.
- Exhale, squeeze your glutes, and lift your hips until your shoulders, hips, and knees form a straight line.
- Hold for two seconds at the top, focusing on the squeeze in your buttocks rather than the arch in your back.
- Lower with control over three seconds. Perform 12 to 15 reps.
This directly counteracts the glute shutdown that hours of sitting causes. Strong glutes hold the pelvis level, and a level pelvis is the foundation every other postural muscle builds on.
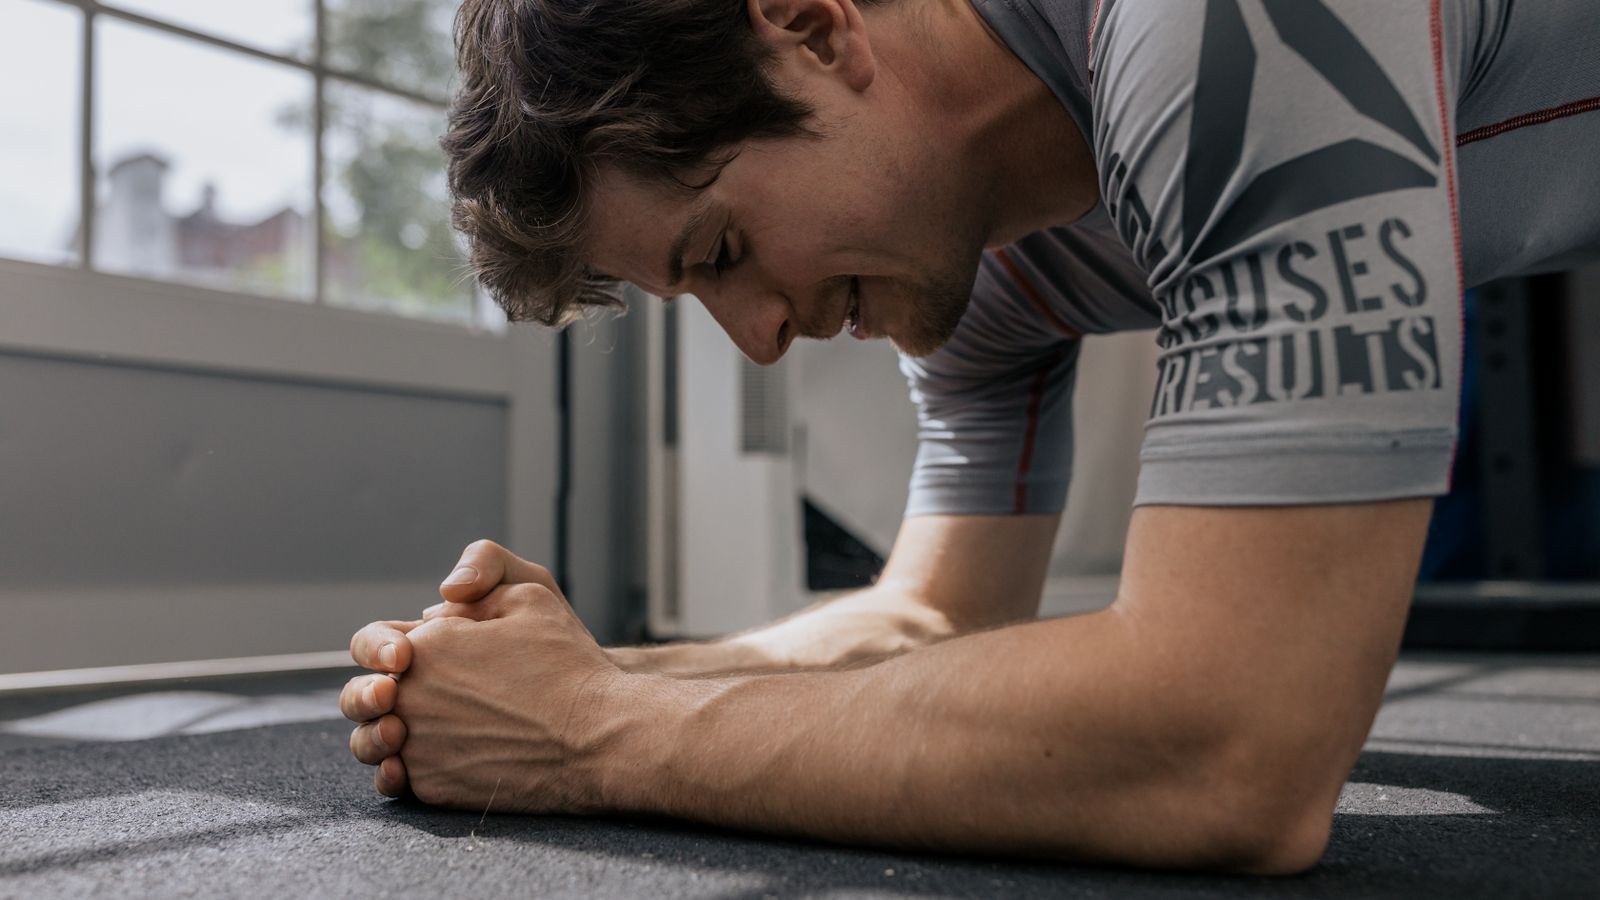
3. Forearm Plank
- Set your forearms on the mat directly under your shoulders, elbows at 90 degrees, legs extended behind you.
- Tuck your tailbone slightly so your hips do not sag, and push the floor away so your upper back is broad rather than collapsed between the shoulder blades.
- Look at a spot on the floor about a foot in front of your hands to keep your neck in line.
- Hold for 20 to 30 seconds. Build toward three holds of 45 seconds over several weeks.
Quality beats duration here. A clean 20-second plank builds more than a sagging two-minute one. Drop to your knees the moment your hips start to dip.
4. Bird Dog
- Start on hands and knees, wrists under shoulders, knees under hips, spine in the neutral position you found at the wall.
- Extend your right arm forward and your left leg back until both are level with your torso.
- Keep your hips square to the floor. If a glass of water balanced on your lower back would spill, you are rotating.
- Hold three seconds, return, and switch sides. Perform 8 reps per side.
Bird dog trains the multifidus and the diagonal chains that link opposite shoulder and hip, which is what stops your torso collapsing sideways when you lean on one armrest all afternoon.
5. Wall Angel
- Return to the wall position from earlier, back of the head, upper back, and buttocks in contact.
- Raise your arms into a goalpost shape with the backs of your hands and elbows touching the wall.
- Slide your arms slowly upward as far as you can without letting your elbows, hands, or lower back leave the wall.
- Slide back down with control. Perform 10 slow reps.
This is the upper-body half of the equation. It opens a chest tightened by hours of forward reaching and wakes up the mid-trapezius and rhomboids that pull your shoulder blades back into position.
Making It Stick During the Workday
Training three times a week matters less than what you do during the other 40 hours. Set a reminder to stand every 30 minutes. Standing resets the pelvis and lets the hip flexors lengthen before they shorten again.
Some people find an active seat helps. Perching on a stability ball for 20 minutes at a time forces continuous small corrections and reinforces exactly the pattern you are building on the mat, which is why some desk workers rotate in one of the best exercise ball chairs for part of the day. Similarly, a seat that tips the pelvis forward changes which muscles carry the load; the best kneeling chairs open the hip angle and encourage a naturally upright lumbar curve. Neither replaces your main chair. Rotation is the point.
For the bulk of the day, the chair still does the heavy lifting. A seat with genuine lumbar adjustment lets you sit in the neutral position you have been practising rather than fighting the backrest, which is the core criterion in our roundups of the best chairs for posture and the more workplace-focused best office chairs for posture.
Common Mistakes That Stall Progress
- Sucking the stomach in hard. Bracing is a gentle 20 percent effort, like preparing for a light poke, not a maximal squeeze that stops you breathing.
- Holding your breath. If you cannot talk during a hold, you are relying on pressure rather than muscle. Breathe shallowly and continuously.
- Chasing crunches. Sit-ups train the rectus abdominis to flex the spine, which is the opposite of what posture needs. Stability work outperforms flexion work for desk pain.
- Skipping the hips. Abdominal-only routines leave the glutes asleep and the pelvis tilted. The bridge is not optional.
- Doing too much too soon. Five hard sessions in week one usually produces soreness, then a three-week gap. Three moderate sessions sustained for two months wins easily.
- Expecting the workstation to fix itself. Strength plus a badly set chair still equals slumping. Do both.
Frequently Asked Questions
How long before I notice better posture?
Most people feel more aware of their position within two weeks, because the nervous system adapts quickly. Visible and lasting change in how you naturally sit typically takes six to eight weeks of consistent work.
Can I do these exercises at my desk?
Wall angels and the neutral-spine drill work anywhere. Dead bug, bridge, and bird dog need floor space, so most people do those at home and use standing breaks and wall angels during the workday.
Will a stronger core cure my back pain?
It often helps considerably, but pain has many causes. If discomfort is severe, one-sided, radiating into a leg, or persistent for more than a few weeks, see a clinician rather than self-treating with exercise.
Do I still need a good chair if my core is strong?
Yes. Strength gives you the capacity to sit well; the chair determines how much effort that costs. A supportive seat means you spend your capacity on work instead of on holding yourself up.
Final Thoughts
Better sitting posture comes from three things working together: a workstation that makes the right position easy, muscles strong enough to hold it, and enough movement through the day that nothing gets a chance to stiffen. The five exercises here cover the muscular half in about a quarter of an hour, three times a week, and they need almost no equipment. Start with the wall drill so you know what neutral feels like, keep the holds short and clean rather than long and sagging, and give it two months before you judge the results. Pair that with a chair you have genuinely adjusted and a standing break every half hour, and the slump that used to arrive at 3pm simply stops showing up.