 Owen Bradley
Heat pumps punish careless thermostat configuration in a way that furnaces never do. Wire a furnace slightly wrong and it usually just refuses to run. Wire a heat pump wrong and it will happily run backwards, blowing cold air on a call for heat, or lean on resistance strips that cost several times as much to operate while everything appears to be working fine. A correct heat pump thermostat setup means getting three things right: the reversing valve orientation, the staging configuration, and the auxiliary heat lockouts. Get those three sorted and the system runs long, efficient cycles. Get them wrong and you pay for it every month.
Why Heat Pumps Need Different Settings
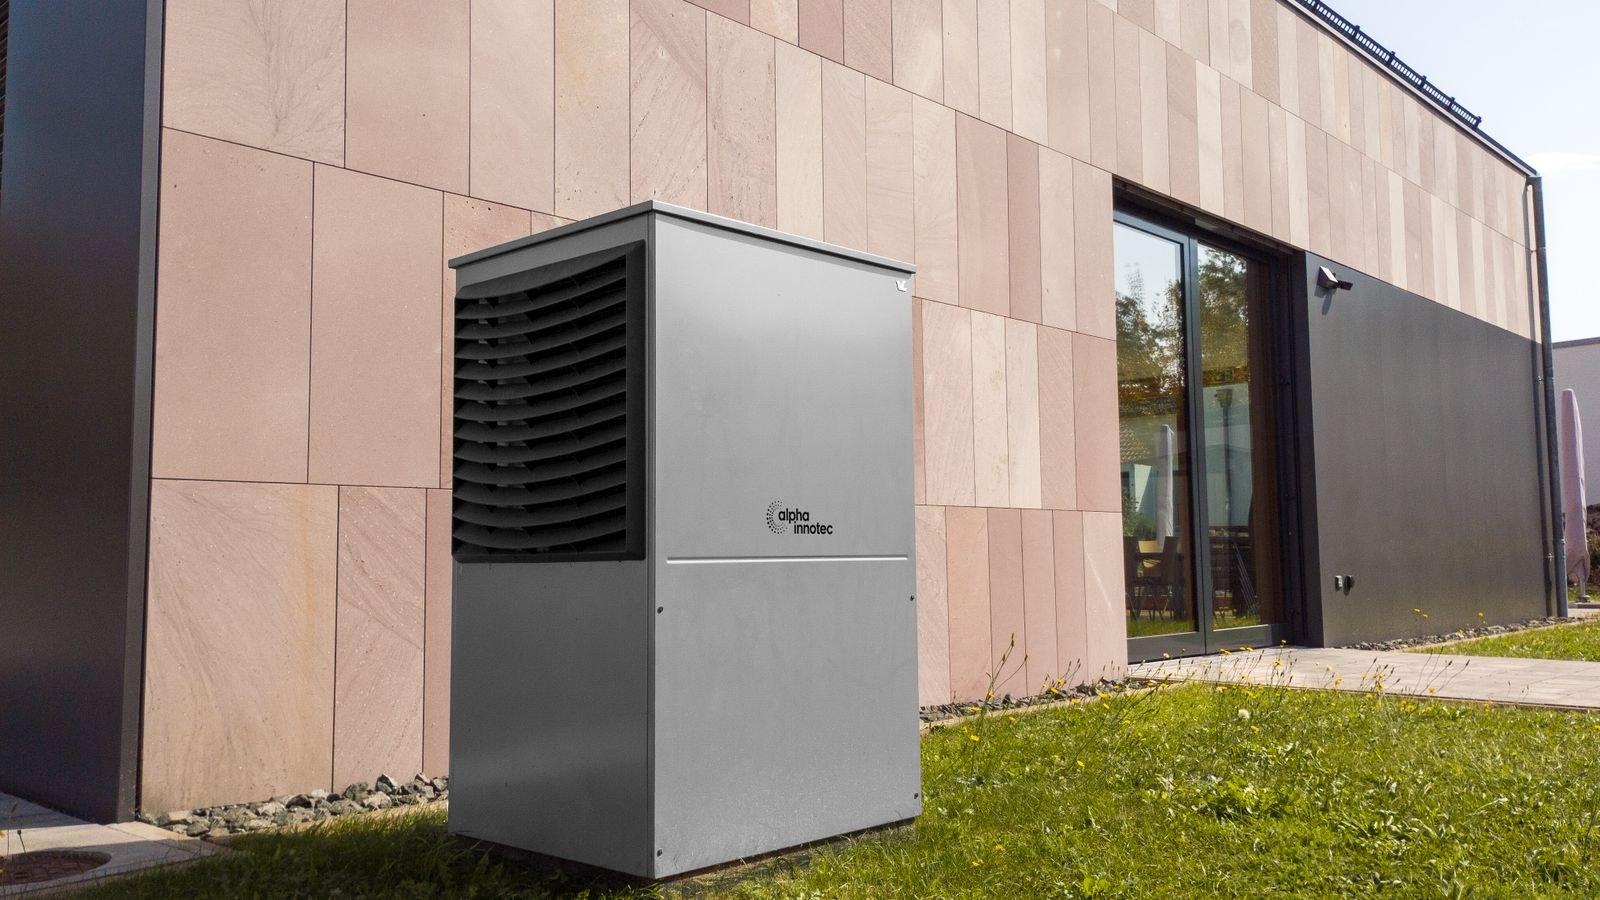
A heat pump is an air conditioner that can run in reverse. A reversing valve swaps the roles of the indoor and outdoor coils, so the same refrigerant circuit that dumps heat outside in summer collects it from outside air in winter. The thermostat controls that valve with a single wire, and the direction it energises the valve is a configuration choice, not a universal standard.
Heat pumps also behave differently from furnaces in operation. A furnace produces a fixed, high output and reaches setpoint quickly. A heat pump produces a gentler output that falls as outdoor temperature drops, so it runs longer cycles and delivers cooler supply air. That is normal and efficient, but it means a thermostat configured with furnace-style expectations will constantly decide the heat pump is failing and bring on backup heat that was never needed.
Finally, most heat pumps have auxiliary or emergency heat, usually electric resistance strips in the air handler. These are effective and instant but expensive, drawing several kilowatts. The single largest saving available in any heat pump setup is simply keeping those strips off unless they are genuinely required.
Identify Your Wiring Before You Start
- O/B is the reversing valve wire, usually orange for O or dark blue for B
- Y or Y1 and Y2 are compressor stages
- G drives the indoor blower
- W2, AUX or E control auxiliary and emergency heat
- R and C supply power, with C being the continuous common a smart thermostat needs
- Turn off power at the breaker feeding the air handler, and at the service switch on the unit itself.
- Photograph the existing thermostat wiring with the terminal letters clearly legible, then label every wire with tape.
- Open the air handler and photograph the control board as well, since the board tells you far more about staging than the thermostat does.
- Note the presence and size of resistance heat strips, and whether there is a dual fuel arrangement with a gas furnace as the backup.
- Confirm you have a C wire. If not, resolve that before proceeding, because heat pump thermostats are rarely tolerant of power stealing.
If the equipment nameplate is readable, note the model number. Manufacturer literature will confirm whether the reversing valve energises in cooling or in heating, which is the single most important fact in this whole project.
Step by Step: Configuring the Thermostat
- Mount and wire the new thermostat with the power off, landing each wire on the terminal it came from. Take particular care with the reversing valve wire, which belongs on the O/B terminal regardless of its colour.
- Restore power and run the setup wizard. When asked about equipment type, choose heat pump, not conventional or furnace. This single answer changes how the thermostat interprets every other terminal.
- Declare whether you have auxiliary heat and what type. Electric strips and a gas backup are handled very differently, so answer accurately.
- Set the reversing valve orientation. The thermostat will ask whether the valve energises on cooling (O) or on heating (B). Most North American systems use O. Choose based on the manufacturer’s documentation if you have it, otherwise you will verify by test in a moment.
- Configure compressor staging. Single stage systems have only Y. Two stage systems use Y1 and Y2, and the thermostat needs to know so it can run stage one for longer before escalating.
- Set the compressor minimum off time to five minutes. This protects the compressor from restarting against high head pressure and is the standard short cycle protection.
- Configure auxiliary heat behaviour, including the droop threshold and any lockouts. This gets its own section below because it is where most of the money is.
- Enable the outdoor temperature source, either from an installed outdoor sensor or from internet weather data. Lockouts cannot work without it.
- Test cooling. Set the thermostat well below room temperature and confirm cold air arrives at the registers within a few minutes.
- Test heating. Set well above room temperature and confirm warm air arrives. If the air is cold on a heat call, or warm on a cool call, your O/B setting is backwards. Change it in installer settings and retest.
- Test auxiliary heat by raising the setpoint sharply, then confirm the thermostat labels it clearly and that it drops back to compressor-only heat once the gap closes.
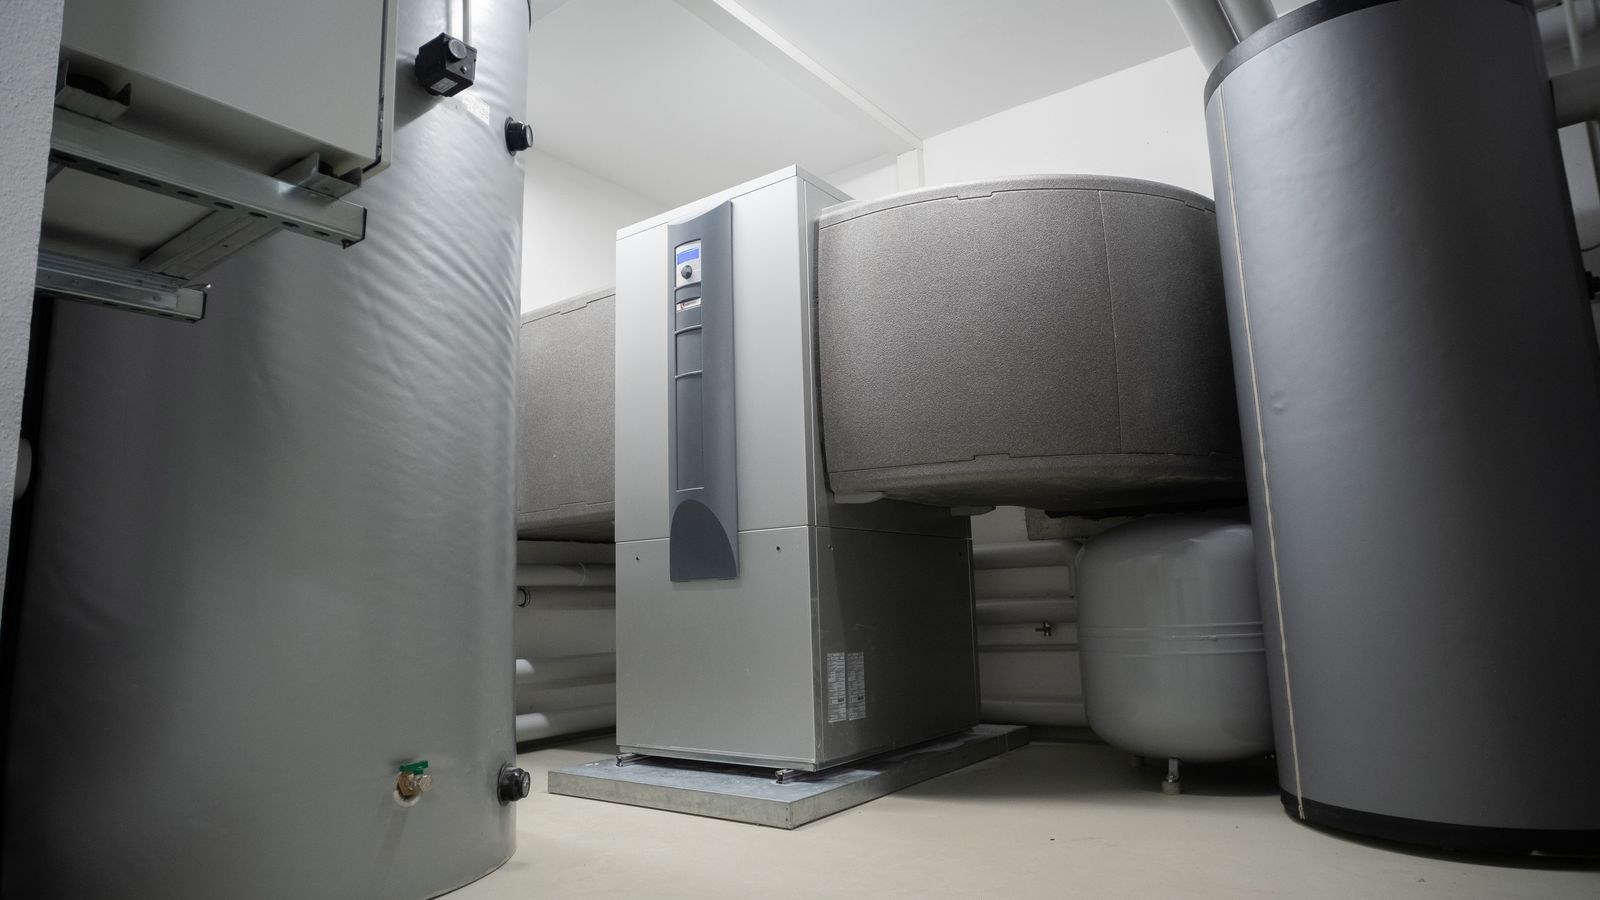
Setting Auxiliary Heat Lockouts Properly
Auxiliary heat exists for two situations: when outdoor temperature falls below the point where the compressor can meet the load, and when the indoor temperature has fallen far enough behind setpoint that waiting is unreasonable. Everything else is waste.
Compressor lockout sets an outdoor temperature below which the heat pump stops trying and the strips take over entirely. Modern cold climate units keep producing useful heat well below freezing, so setting this too high throws away the whole point of the system. Something in the range of 15 to 25 degrees Fahrenheit suits many conventional units, and cold climate models can often be set lower still or left without a lockout.
Auxiliary lockout is the mirror image: an outdoor temperature above which the strips are simply not permitted, no matter what the indoor droop is. Setting this around 35 to 40 degrees Fahrenheit prevents the expensive failure mode where strips fire on a mild day because someone bumped the setpoint up four degrees.
Droop or differential controls how far behind setpoint the room must fall before auxiliary heat engages. A wider droop of two degrees or more keeps the strips off during normal operation. A narrow droop feels responsive but brings the strips on constantly.
Many smart thermostats replace fixed droop with an adaptive algorithm that learns recovery rates and only calls auxiliary when the compressor genuinely cannot catch up. Where that option exists, it usually outperforms manual tuning. The best heat pump thermostats comparison covers which models offer real lockout control rather than a simple on-off toggle, and the best ecobee thermostats are worth examining specifically for their granular auxiliary settings.
Schedules and Setbacks for Heat Pumps
Deep setbacks are a furnace habit that costs heat pump owners money. Drop the house six degrees overnight and the morning recovery demands more capacity than the compressor can deliver, so the strips fire and erase every cent the setback saved.
Keep heating setbacks shallow, ideally no more than two or three degrees, and rely on smart recovery so the system starts early and climbs gently using the compressor alone. Cooling setbacks can be more aggressive, since there is no auxiliary equipment to accidentally trigger. If you want a structured starting point, the best programmable thermostats roundup covers scheduling flexibility, and the broader best smart thermostats comparison shows which platforms handle adaptive recovery well.
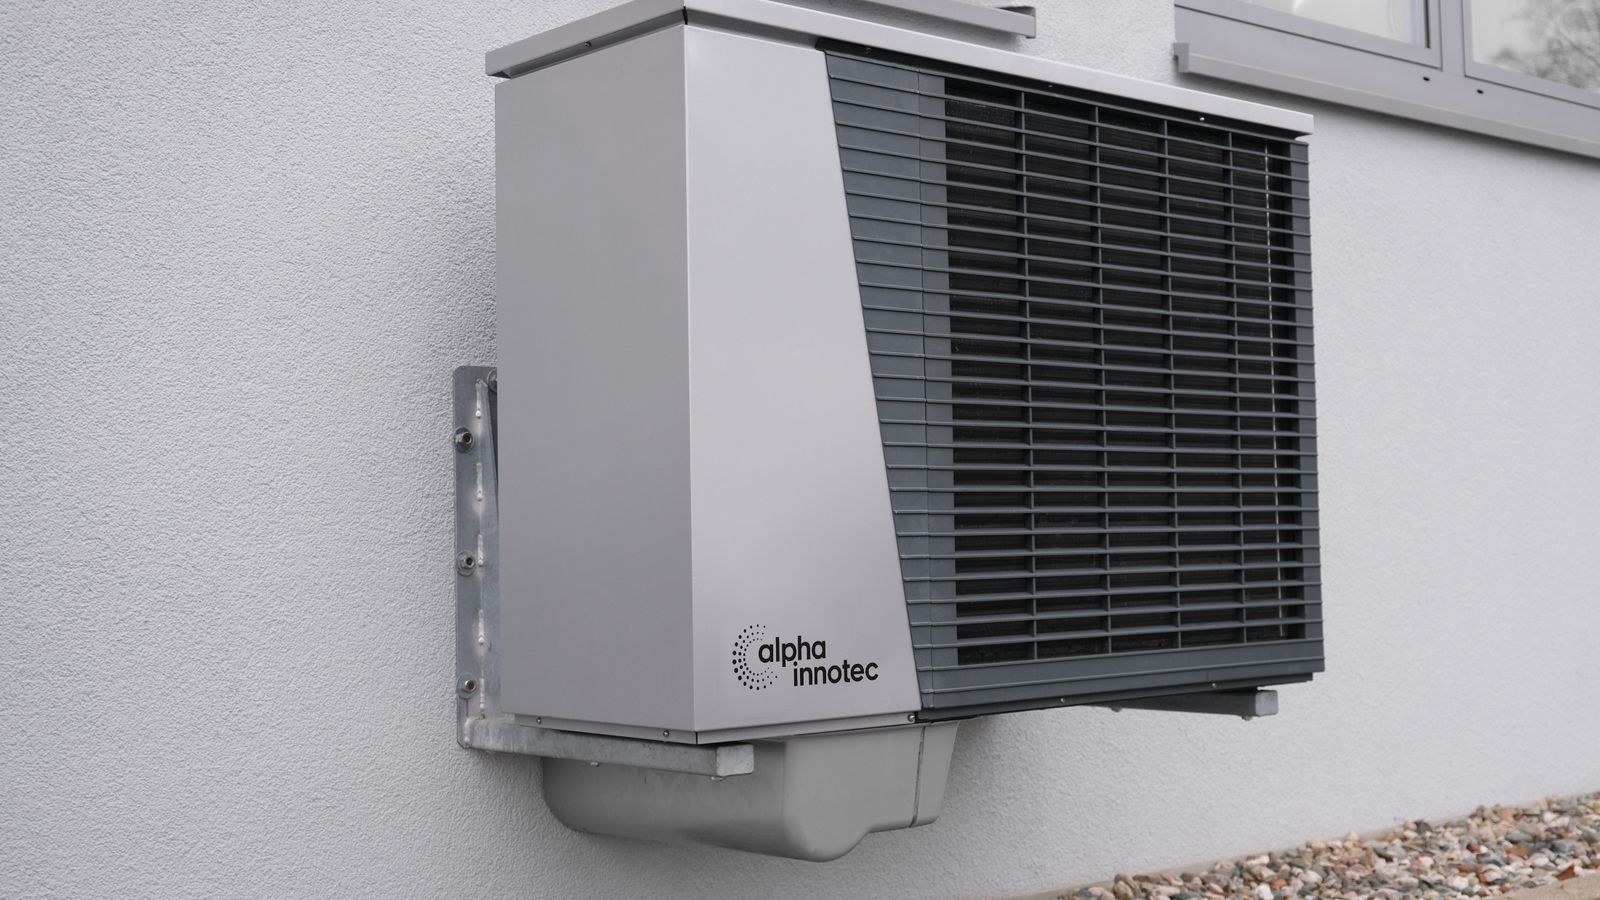
Troubleshooting Common Heat Pump Problems
Cold air on a heat call. The O/B orientation is inverted. Flip the setting in installer configuration and retest both modes.
Auxiliary heat runs constantly. Check that the auxiliary lockout is set, that the droop is not too narrow, and that the outdoor temperature source is actually reporting. A missing weather source disables lockouts silently.
System short cycles. Verify the five minute compressor off delay, and check that a two stage system was not configured as single stage. Oversized equipment also short cycles, which no thermostat setting can fully mask.
Supply air feels lukewarm. Normal. Heat pump supply air typically runs around 90 to 100 degrees Fahrenheit rather than the 120 or more a furnace produces. It heats the house perfectly well over a longer cycle.
Outdoor unit steams periodically. That is a defrost cycle clearing frost from the outdoor coil, and the strips may briefly run to temper the air. It is expected in cold, damp weather.
Emergency heat left on. Emergency mode bypasses the compressor entirely. It is for a failed outdoor unit, not for cold weather, and leaving it engaged is one of the most expensive mistakes possible.
Frequently Asked Questions
Can any smart thermostat run a heat pump?
No. It must support the O/B terminal and, for staged systems, multiple compressor and auxiliary stages. Check the terminal list before buying, and if you are still comparing options the smart thermostat buying guide explains which specifications matter.
What if I have a gas furnace as backup?
That is a dual fuel system, and the thermostat needs a specific dual fuel setting plus a balance point temperature at which it switches from compressor to furnace. Never run both simultaneously.
Should I turn the heat pump off in very cold weather?
No. Let the lockout settings decide. Manually switching to emergency heat costs far more than allowing the compressor to contribute whatever it can.
Is a wider temperature swing better?
Generally yes for heat pumps. Longer, less frequent cycles are more efficient than short bursts, so a slightly wider differential usually helps.
Final Thoughts
Heat pump configuration rewards a slow, methodical approach. Confirm the equipment type in the wizard, get the reversing valve orientation right and verify it by actually feeling the air in both modes, set a five minute compressor delay, and put real thought into auxiliary lockouts because that is where the running cost lives. Keep setbacks shallow, enable adaptive recovery, and resist the urge to switch to emergency heat when a cold snap arrives. A properly configured heat pump runs longer and quieter than a furnace ever did, and costs noticeably less to do it.