 Owen Bradley
Outdoor lighting has quietly become one of the easiest upgrades you can make to a home, and flexible LED strip lighting is at the center of that shift. A single reel of tape light can wash a deck railing in warm glow, trace the underside of a pergola, outline a driveway, or turn a plain garden wall into a design feature — all for a fraction of what hardwired landscape fixtures cost. But outdoor strips live a much harder life than the ones tucked behind your TV. Rain, UV, freeze-thaw cycles, and voltage drop all conspire against a product never built for the job. This guide covers every decision that matters when you buy outdoor and waterproof LED strip lighting in 2026.
Understand IP Ratings Before Anything Else
The single most important spec on an outdoor strip is its IP (Ingress Protection) rating. The two digits mean different things: the first covers solids like dust, the second covers water. Most marketing copy uses “waterproof” loosely, so read the number rather than the adjective.
- IP20 — bare, uncoated tape. Indoor only. No moisture tolerance whatsoever.
- IP54 — light splash resistance, often just a thin conformal coating. Acceptable under a deep covered porch, not in open weather.
- IP65 — silicone coating over the top face. Handles rain and hose spray. The practical minimum for anything exposed to the sky.
- IP67 — fully encased in a silicone sleeve. Survives temporary submersion, heavy storms, and snow load. The sweet spot for most decks, fences, and eaves.
- IP68 — sealed for continuous submersion. Needed for pond edges, pool coping, fountains, and anywhere standing water is likely.
A common and expensive mistake is buying IP65 for a location that periodically floods or ices over. When water freezes inside a partially sealed channel, it expands and delaminates the coating, and the strip fails in a patchy, ugly way. If you are unsure, go one rating higher — the price difference is usually small, and the failure mode is not. Comparison roundups of the best waterproof LED strip lights are the fastest way to see how real products stack up across these ratings.
Sealing Is Only as Good as the End Caps and Connectors
Manufacturers advertise the rating of the tape itself, but the failure point on almost every outdoor install is the cut end, the solder joint, or the plug where the power lead meets the reel. Water tracks along the copper trace by capillary action and corrodes the strip from the inside, sometimes a foot or more past the entry point.
Protect these areas deliberately. Use the supplied silicone end caps, then seal them with neutral-cure silicone adhesive rather than acetic (vinegar-smelling) sealant, which corrodes copper over time. Mount any driver, controller, or plug connection inside a weatherproof junction box, ideally with a drip loop so water runs off the cable instead of down into the housing. Position joints on the underside of a rail rather than the top face wherever the layout allows.
Choose the Right Voltage for the Run Length
Low-voltage DC strips come mainly in 12V and 24V. For outdoor work, 24V is almost always the better answer. Voltage drop — the gradual dimming and color shift along a long run — scales with current, and a 24V strip draws half the current of a 12V strip at the same wattage. In practice a 12V reel starts visibly fading past roughly 16 feet, while 24V holds up to about 32 feet before you need to inject power at the far end.
For very long perimeter runs, plan power injection from the start: feed the strip from both ends, or run a parallel pair of low-voltage wires along the route and tap in every 20 feet or so. This costs a few dollars of wire and saves you from a lighting scheme that looks bright at one corner of the patio and murky at the other.
Brightness, Density, and Beam Quality
Outdoors, ambient darkness works in your favor — you need far less output than you would indoors. Strips in the 300–700 lumens per meter range handle accent and path lighting comfortably. Reserve anything above 1,000 lumens per meter for task areas such as an outdoor kitchen counter or grill station.
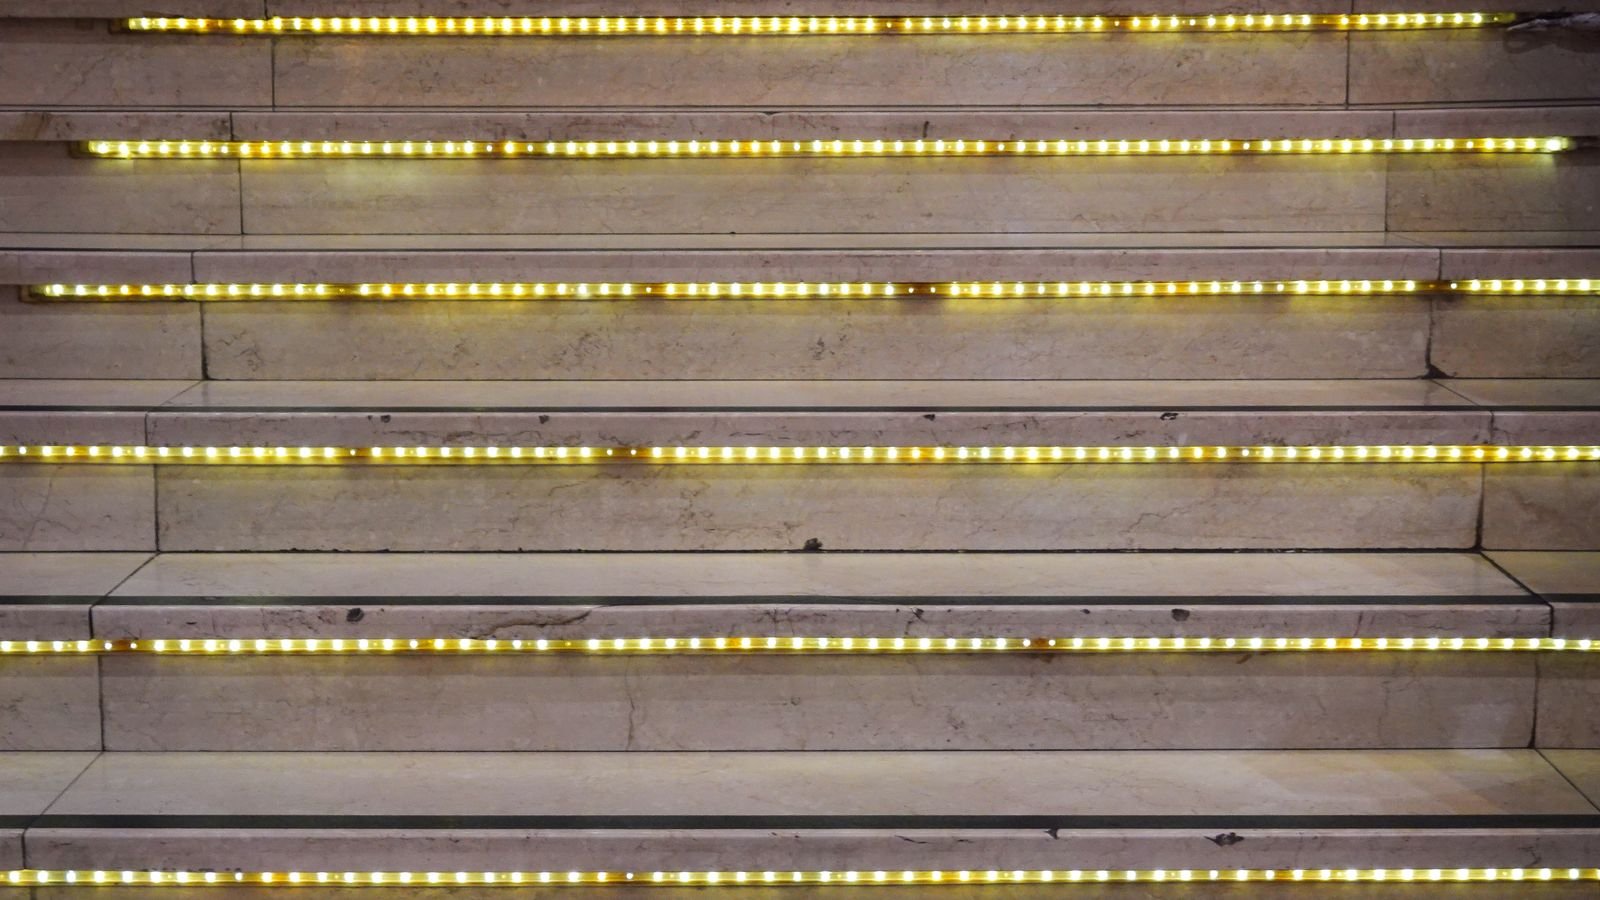
LED density matters as much as raw brightness. A strip with 60 LEDs per meter shows visible dots when mounted close to a viewed surface; 120 per meter produces a smooth continuous line. If the strip will sit within a few inches of a wall or under a handrail where people look directly at it, spend the extra on higher density or use a frosted diffuser channel. Aluminum channels also double as heat sinks and physical armor against lawn equipment and curious pets.
Color Temperature and Color Options
Warm white in the 2400K–2700K range flatters wood, stone, and planting, and it keeps light pollution and insect attraction low. Neutral white around 3500K–4000K reads crisp and modern against concrete, metal, or glass but can look clinical against natural materials. Anything above 5000K rarely belongs in a residential yard.
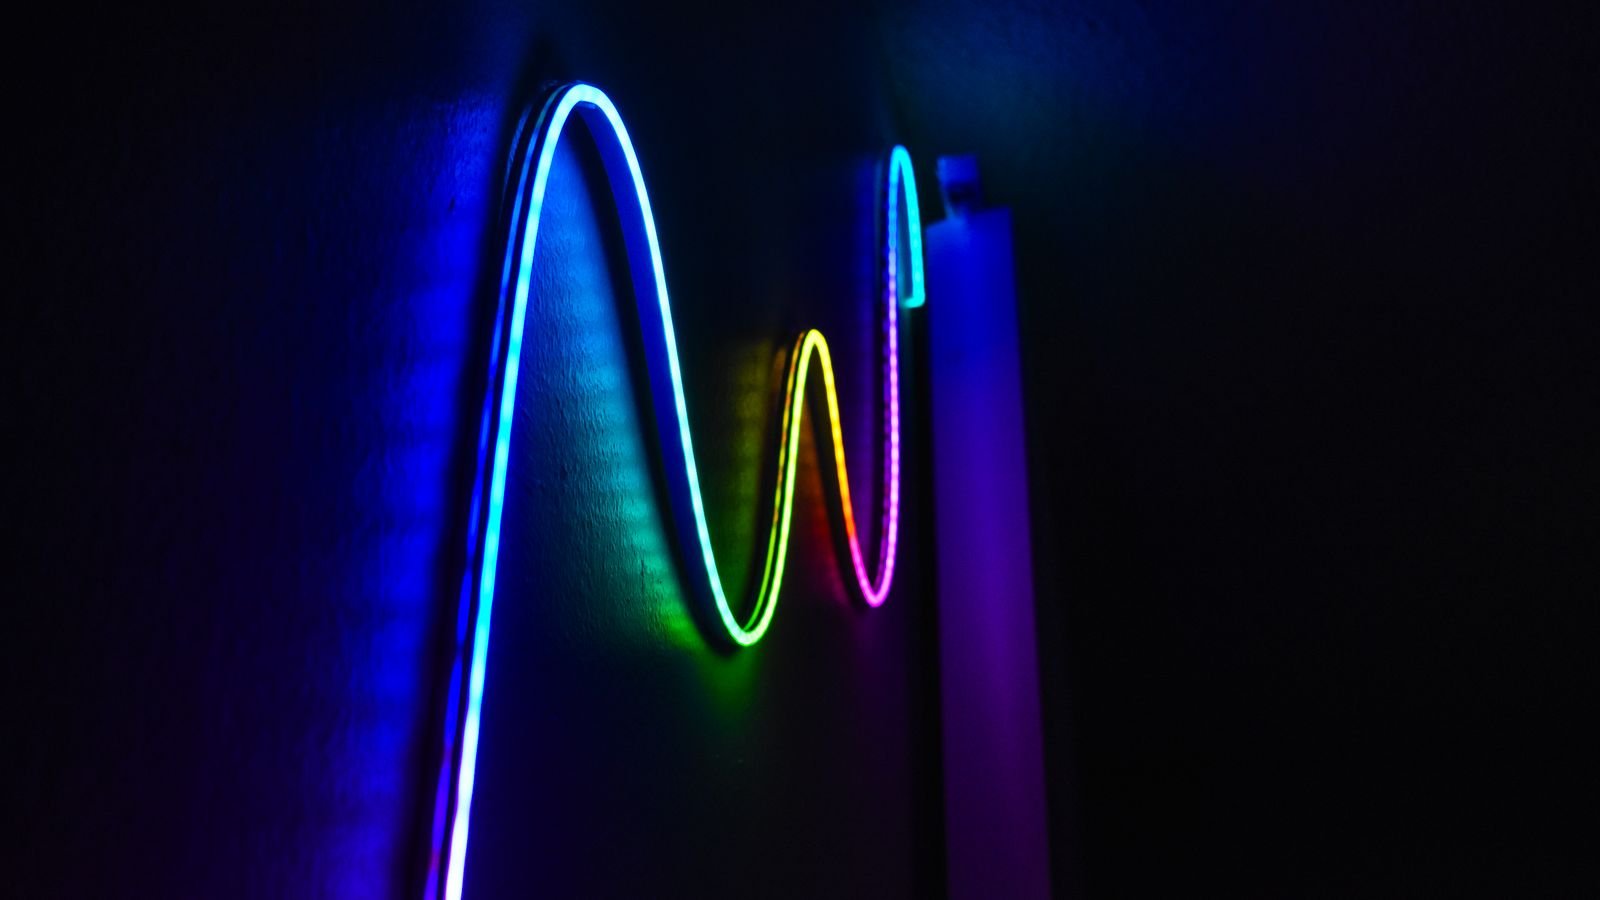
RGB and RGBW strips add seasonal flexibility — amber for autumn, cool blue for winter, saturated colors for parties. The crucial distinction is RGB versus RGBW: pure RGB produces white by mixing all three channels, which comes out slightly tinted and inefficient. RGBW adds a dedicated white chip so you get both a genuinely clean everyday white and full color when you want it. If color is central to your plan, browse options among the best multi-color LED strip lights before committing to a single-color reel you will outgrow.
Power Supplies Built for the Outdoors
An indoor plug-in adapter in a garden bed is a genuine hazard. Look for a driver with its own IP65 or higher rating, a listing mark from a recognized safety lab, and at least 20% headroom over your calculated load — a 100W run should get a 120W driver, since supplies that run continuously at their limit fail early and run hot.
Mount the driver in a sheltered spot: inside a garage, under an eave, or in a rated enclosure with the cable glands facing downward. Give it airflow and never bury a connection you cannot reach for service.
Adhesive Will Not Hold Outside — Plan for Mechanical Mounting
The 3M-style backing on most reels is rated for clean indoor surfaces at moderate temperatures. Outside, UV exposure, thermal cycling, dust, and pollen defeat it within a season or two, and the strip starts drooping in loops. Treat the adhesive as a temporary positioning aid only.
Use aluminum channel with mounting clips, stainless screw-down cable clips every 12 inches, or UV-stable zip ties on a discreet run. Clean and dry the surface with isopropyl alcohol first, and on rough surfaces like brick or stucco skip adhesive altogether and mount the channel instead. Leave a small service loop at each end so a future repair does not require re-running the entire length.
Solar and Battery Options for Locations Without Power
Not every fence line or garden shed has an outlet nearby, and trenching a new circuit is a big project. Solar-powered strips solve this with an integrated panel and internal battery, though they trade away brightness and consistency — output drops sharply after cloudy days, and most run four to eight hours after a full charge. They shine on decorative applications: a fence perimeter, a garden path, a shed edge.
Compare the field of best outdoor solar LED strip lights if there is no realistic power source, and pay attention to panel size and battery capacity rather than headline lumen claims. For anywhere you need dependable nightly output, wired low-voltage remains the more satisfying choice.
Smart Control, Scheduling, and Automation
Outdoor lighting benefits from automation more than indoor lighting does, because the right on-time changes week by week with sunset. A controller that supports astronomical scheduling — on at dusk, off at a fixed hour — saves you from adjusting timers all year. App control, voice assistants, and scene presets are useful extras, and motion-triggered brightening on a walkway adds real security value.
Check that the controller itself is weather-rated or can live indoors with only the low-voltage output run outside. Wi-Fi range across a yard is often the practical limit, so a Bluetooth mesh or Zigbee model may perform better at the far end of a property. The current crop of best smart LED strip lights covers most of these control ecosystems.
Budget Tiers: What Your Money Buys
- Entry (roughly $20–$40 per reel) — IP65, 12V, 60 LEDs per meter, basic adapter. Fine for a season of patio ambiance or a temporary event, not for a permanent install.
- Mid-range ($50–$110) — IP67, 24V, 120 LEDs per meter, decent CRI, a real weather-rated driver. This is the tier most homeowners should target for a install they want to forget about.
- Premium ($130+) — IP68, high CRI above 90, aluminum channel included, dimmable driver, long warranty. Worth it for architectural detail work, poolside runs, and anywhere access for future repair is difficult.
Spend the money on the driver and the channel before you spend it on extra brightness. Those are the parts you cannot easily upgrade later.
Installation Mistakes That Shorten Strip Life
- Cutting anywhere other than the marked copper pads, which severs a circuit segment permanently.
- Bending the strip sideways or around a sharp corner instead of using a corner connector — the traces crack invisibly.
- Coiling unused length on the reel and powering it up; trapped heat cooks the LEDs.
- Mixing a 12V strip with a 24V driver, or vice versa. Always match voltage exactly.
- Running strip directly against dark surfaces in full sun, where surface temperature accelerates lumen depreciation.
- Skipping a GFCI-protected outlet for the driver’s line-voltage side.
Maintenance and Seasonal Care
Outdoor strips need very little attention, but a twice-yearly check pays off. Wipe the silicone sleeve with a damp cloth to clear pollen, dust, and cobwebs that dull output. Inspect end caps and junction boxes for cracked sealant and re-seal as needed. In cold climates, clear snow gently rather than chipping at ice. Keep spare connectors and a short length of matching tape on hand.
Frequently Asked Questions
Can I use an indoor LED strip outside if I coat it in silicone?
It is not a reliable substitute. DIY coatings trap moisture rather than exclude it, and the strip’s own solder joints and connectors were never designed for humidity cycling. A properly rated strip costs little more and comes with a warranty that a modified one does not.
How long should outdoor LED strips last?
Quality IP67 strips are typically rated for 30,000 to 50,000 hours of operation. Running only from dusk to midnight, that translates to many years of service. Real-world life depends more on heat management, sealing quality, and driver reliability than on the LED chips themselves.
Do outdoor LED strips attract insects?
Less than traditional lighting. Insects respond most strongly to ultraviolet and short-wavelength blue light, which LEDs emit very little of. Choosing a warm 2200K–2700K color temperature reduces attraction further, which is why amber tones are popular for dining areas and porches.
Can I cut and reconnect a waterproof strip?
Yes, at the marked cut points, but you must reseal the cut. Solder the new lead rather than relying on a clip connector where possible, slide a silicone sleeve over the joint, and seal both openings with neutral-cure silicone. Clip-on connectors are convenient but are the first thing to corrode outdoors.
Final Thoughts
Getting outdoor strip lighting right comes down to a handful of unglamorous decisions: an IP rating matched to real exposure, 24V for long runs, a weather-rated driver with headroom, mechanical mounting instead of adhesive, and sealed connections everywhere water can reach. Get those right and the aesthetic choices — color temperature, density, whether to go RGBW — become the fun part rather than a gamble. Start by shortlisting proven products among the best outdoor LED strip lights, then confirm the run length and driver capacity before you order. A weekend of careful planning is what separates a lighting scheme that still looks sharp in 2026 and beyond from one you end up tearing down after a single wet winter.