 Owen Bradley
The kitchen is the hardest-working room in the house and the one where bad lighting causes the most daily friction. You chop, read recipes, check whether meat is cooked, find things in cupboards, and often eat and socialise in the same space — tasks with genuinely different lighting requirements. Yet the standard builder solution remains a single fixture in the middle of the ceiling, which puts your own shadow directly onto the countertop you are working at. Fixing that does not require a renovation. It requires layers: recessed downlights placed where they clear your body, under-cabinet lighting aimed at the work surface, and accent lighting to give the room depth. This guide covers all three for 2026.
The Layers a Kitchen Needs
Ambient lighting fills the room so you can move safely and see into corners. Recessed downlights, a flush mount, or a linear fixture usually provide it.
Task lighting illuminates work surfaces without your body blocking the light. Under-cabinet lighting is the definitive solution for countertops; pendants handle islands.
Accent lighting adds depth and character — inside glass-front cabinets, above upper cabinets washing the ceiling, toe-kick lighting, or LED strips in open shelving. It is not necessary, but it is the difference between a functional kitchen and one that looks designed.
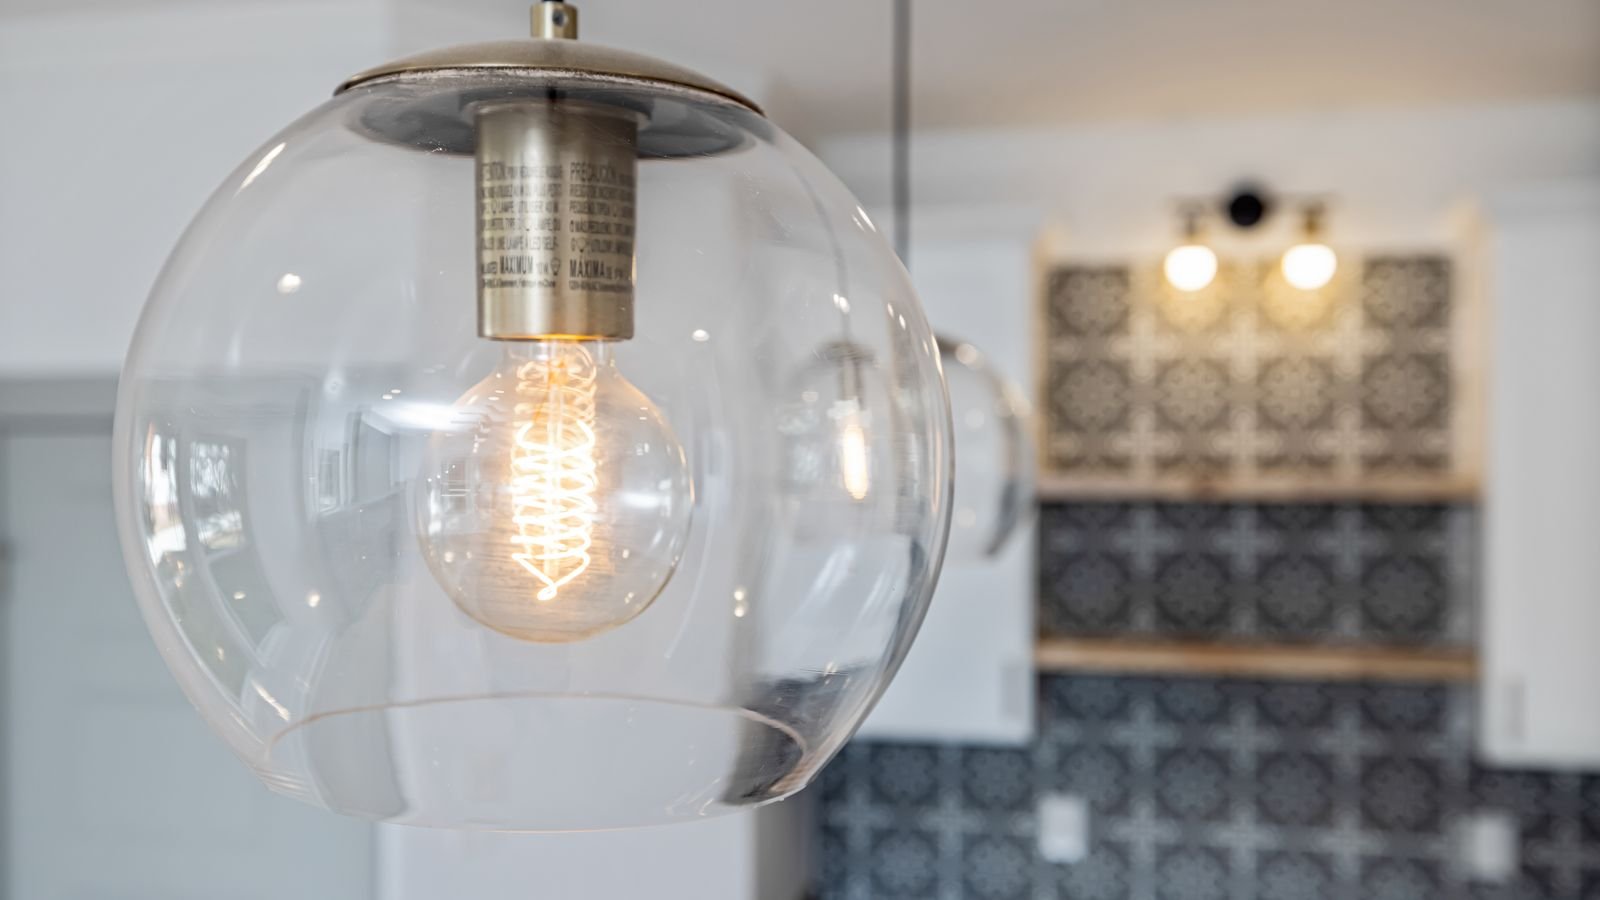
Decorative lighting is the fixture you actually see: pendants over an island, a fixture over the dining table. It contributes light but its main job is style.
A minimal working kitchen needs ambient plus task. Add accent when the budget allows, because it delivers more visual improvement per dollar than any other layer.
Recessed Lighting: Placement Is Everything
Recessed downlights are the default ambient layer in modern kitchens, and their placement determines whether they help or hinder.
The critical rule: position downlights over the front edge of the countertop, not over the centre of the room. A light directly behind you throws your shadow onto the work surface. A light positioned roughly above where you stand, or slightly forward of the counter edge, puts illumination onto the counter in front of you. In practice this means placing the row of cans about 24 to 30 inches out from the wall for standard 24-inch base cabinets.
Spacing follows a simple guideline: divide your ceiling height by two to get the maximum spacing between fixtures. An 8-foot ceiling therefore wants downlights no more than 4 feet apart; a 9-foot ceiling allows about 4.5 feet. Closer spacing gives more even light with fewer scallops on the walls.
Size matters less than it used to. 4-inch downlights are now the common choice in kitchens — they look less obtrusive than the old 6-inch cans and modern LED output makes up the difference easily. Canless LED downlights have made retrofits far simpler, since they need only a few inches of ceiling depth and clip into a hole without a bulky housing above.
Our roundup of the best recessed lighting for kitchen installations compares trims, beam angles, and canless versus housed designs, and the broader recessed lighting guide covers the technical ratings you need to check.
Under-Cabinet Lighting
If you only make one lighting upgrade to a kitchen, make it this one. Under-cabinet lighting puts light exactly where you cut, measure, and read, entirely below the level of your own head and shoulders. The improvement is immediate and dramatic.
Three formats dominate:
- LED strips (tape lights). A flexible adhesive strip, cut to length, usually mounted in an aluminium channel with a diffuser. The most versatile and the best-looking result — continuous, even light with no visible hot spots. Requires a low-voltage power supply and some planning.
- Linear bars (light bars). Rigid fixtures in fixed lengths that screw under the cabinet and link together. Simpler to install than strips, but you get discrete segments rather than a continuous line, and gaps between bars.
- Puck lights. Small round fixtures, often battery or plug-in. Easiest of all to install and by far the worst looking — they produce scalloped pools of light with dark gaps between. Acceptable as a stopgap, not as a design choice.
For most kitchens, LED strips in a diffused channel are the right answer. Our comparison of the best LED strip lights for kitchen cabinets covers density, colour temperature, and channel options, and the general LED strip lights guide explains the specifications behind them.
Getting LED Strip Specifications Right
Strip lighting is where the specification sheet genuinely matters, because a cheap strip looks obviously cheap.
- LED density. Measured in LEDs per metre. 60 per metre produces visible dots through a thin diffuser; 120 or more per metre gives a smooth continuous line. For under-cabinet work at close viewing distance, go high density.
- Brightness. Aim for 400 to 700 lumens per metre for countertop task lighting. Lower is decorative rather than functional.
- Colour temperature. 3000K is the kitchen standard — warm enough to feel residential, neutral enough to keep white surfaces crisp. 4000K suits very modern kitchens with cool grey or white finishes.
- CRI. Insist on 90 or above. Food looks appetising under high-CRI light and grey under cheap LEDs. This is one of the few places where colour rendering has an obvious everyday payoff.
- Aluminium channel with diffuser. Not optional if you care how it looks. It hides the individual LEDs, protects the strip, and acts as a heat sink extending its life.
- Position the strip toward the front edge of the cabinet underside, not the back. Front placement lights the counter; rear placement mostly lights the backsplash.
Power supply sizing is the usual DIY mistake. Total the wattage of all your strip runs and choose a driver rated at least 20 percent above that figure. An undersized driver runs hot and fails early.
Island and Pendant Lighting
Pendants over an island are decorative and functional at once, and the sizing rules are worth following.
Hang pendants so the bottom sits 30 to 36 inches above the countertop — high enough to see across, low enough to light the surface. For number and spacing, two or three pendants suit most islands: allow roughly 30 inches between pendant centres, and keep the outermost pendants at least 6 inches in from each end of the island. A single large pendant or a linear fixture works well over a narrow island where multiple small pendants would look busy.
Scale the pendant to the island. A common guideline is that the combined width of all pendants should be about one-third to one-half the island length. Undersized pendants over a long island are the most common proportion error in kitchen lighting.
Choose diffused or downward-facing shades. Bare bulbs at seated eye level across an island produce glare exactly where people sit.
Brightness Targets and Colour Temperature
Kitchens need more light than other rooms. A useful planning target is 70 to 80 lumens per square foot of ambient light, roughly double what a living room needs, plus dedicated task lighting on top.
For a 150 sq ft kitchen that means roughly 10,500 to 12,000 lumens of ambient output — typically six to eight recessed downlights at 800 to 1,000 lumens each — supplemented by under-cabinet strips delivering 400 to 700 lumens per metre across the work runs.
Keep colour temperature consistent across every layer. Mixing 2700K pendants with 4000K downlights makes both look wrong. Choose 3000K as the safe default, and if you want flexibility, use tunable white fixtures on the ambient layer so you can shift warmer in the evening.
Controls and Zoning
The best kitchen lighting installations put each layer on its own dimmed switch. Three zones is usually the right number: ambient downlights, under-cabinet task lighting, and pendants or accent lighting.
That arrangement means you can run under-cabinet lighting alone at low level as a night light, use full ambient plus task when cooking, and drop to pendants and accent only when the kitchen becomes a social space after dinner. Dimmers cost little and transform how the room feels across a day. Use LED-compatible dimmers and check that your chosen bulbs and drivers are rated for dimming — many low-voltage strip drivers are not.
Common Kitchen Lighting Mistakes
- One central ceiling fixture. Guarantees you work in your own shadow.
- Downlights over the centre of the room. Same problem in a more expensive form. Move them toward the counter edge.
- Skipping under-cabinet lighting. The highest-value layer in the room, routinely omitted.
- Puck lights instead of strips. Scalloped pools of light look unfinished.
- Low CRI. Makes food, produce, and wood finishes look lifeless.
- Mixed colour temperatures. Always reads as a mistake.
- No dimmers. Locks a multi-purpose room into a single mood.
- Pendants hung too high or too low. 30 to 36 inches above the counter is the range that works.
Frequently Asked Questions
How many recessed lights does a kitchen need?
Divide ceiling height by two for maximum spacing, then lay out a grid over the work zones. A typical 150 sq ft kitchen with an 8-foot ceiling lands at six to eight 4-inch downlights, placed 24 to 30 inches out from the wall so they clear your body.
What colour temperature is best for a kitchen?
3000K suits most kitchens — warm enough to be inviting, neutral enough that white surfaces and food look correct. 4000K works in very modern kitchens with cool finishes. Keep every fixture in the room at the same value.
Are LED strips or light bars better under cabinets?
Strips in an aluminium channel with a diffuser give continuous, even light and look considerably better. Light bars are quicker to install but leave visible gaps. Puck lights are the easiest and the least attractive.
How far apart should island pendants hang?
About 30 inches between centres, with the end pendants set at least 6 inches in from the island ends. The bottom of each pendant should sit 30 to 36 inches above the countertop.
Do I need an electrician for under-cabinet lighting?
Plug-in strip kits are a straightforward DIY project. Hardwired systems, new switch legs, and anything involving a new circuit should be done by a licensed electrician and may require permits depending on your jurisdiction.
Final Thoughts
A well-lit kitchen is not about buying expensive fixtures; it is about putting light in the right places. Move your downlights toward the counter edge so they clear your body, add high-CRI LED strips under the upper cabinets in a diffused channel, hang pendants at the right height and scale over the island, and dim each layer separately. Keep everything at one colour temperature and specify enough lumens for a room that works twice as hard as any other. Those decisions cost very little more than doing it badly, and you will notice the difference every single day.