 Owen Bradley
Color-changing LED lighting is the cheapest, fastest way to make a room feel completely different. No paint, no furniture, no contractor — just a strip, a bulb, or a pair of light bars, placed where the light can bounce off a surface. Done badly it looks like a dorm room with a novelty toy stuck to the wall. Done well it looks intentional: soft washes of color along a ceiling cove, a warm halo behind a headboard, an accent tone picking up the color of a rug. The difference is not the hardware. It is placement, color temperature discipline, and knowing which fixtures should change color and which should stay white. This guide walks through planning, installing, and tuning a color-changing LED setup so the finished room reads as designed rather than decorated by accident.
Decide What Job Each Light Is Doing
Before buying anything, split the room’s lighting into three layers. Ambient light fills the space and lets you walk around safely. Task light is aimed at something you do — reading, cooking, working. Accent light exists purely to shape the room visually.
Color-changing light belongs almost entirely in the accent layer, and sometimes in the ambient layer at low saturation. It almost never belongs in the task layer, because saturated color destroys color rendering: you cannot judge whether chicken is cooked or whether a shirt is navy or black under magenta light. Keep your ceiling fixture and desk lamp as tunable white, and let the color live in strips, bars, and lamp accents.
This single decision prevents the most common failure. Rooms that look bad are usually rooms where the main overhead light was set to purple.
Choose Between Strips, Bulbs, and Light Bars
Each format solves a different problem, and most good setups mix two of them.
- LED strips are flexible tape with adhesive backing. They excel at hidden, indirect glow: under a floating shelf, behind a headboard, along the top of crown moulding, under a desk lip. They are cheap per foot and nearly invisible when mounted correctly.
- Color bulbs screw into fixtures you already own — table lamps, floor lamps, sconces, pendant fixtures. They are the easiest entry point and the easiest to reverse. Browsing the best color-changing light bulbs is a good way to see the brightness and color-range differences before committing to a whole strip installation.
- Light bars and corner lamps are rigid fixtures that sit on the floor or lean in a corner. They throw a broad wash onto a wall and need no adhesive at all, which makes them ideal for rentals.
If you want a single upgrade with maximum visible change and minimum effort, start with two color bulbs in existing lamps. If you want the room to look professionally lit, add a hidden strip.
Gather What You Need
- LED strip or bulbs rated for the effect you want (RGB, RGBW, or RGBIC — see below)
- Isopropyl alcohol and a lint-free cloth for surface prep
- Mounting clips or channel, plus small screws, if the strip run is long
- Scissors, and a strip connector kit if you need to turn corners
- A tape measure and a pencil
- The manufacturer’s app installed on your phone before you start
Understand RGB Versus RGBW Versus RGBIC
The acronyms decide what your setup can actually do, and they are the main reason people are disappointed with a cheap purchase.
RGB mixes red, green, and blue diodes. It produces vivid color, but its “white” is a mixed approximation that usually looks slightly blue or slightly pink — fine for accent glow, poor for lighting a room.
RGBW adds a dedicated white diode. You get real, clean white for everyday use plus color when you want it. For anything replacing a normal light, this is the version to buy. Options in the best RGB light bulbs roundup make the practical difference between these types easy to compare.
RGBIC adds individually addressable segments, so one strip can show several colors at once — gradients, chases, and flowing effects. It costs more and matters only if you want multi-color effects on a single run. A solid color gradient across a long ceiling cove is genuinely striking; a frantic rainbow chase gets old in a week.
Plan the Placement Before You Peel Anything
Adhesive strip is unforgiving. Once it is down and pressed, removing it often takes paint with it. Spend ten minutes planning.
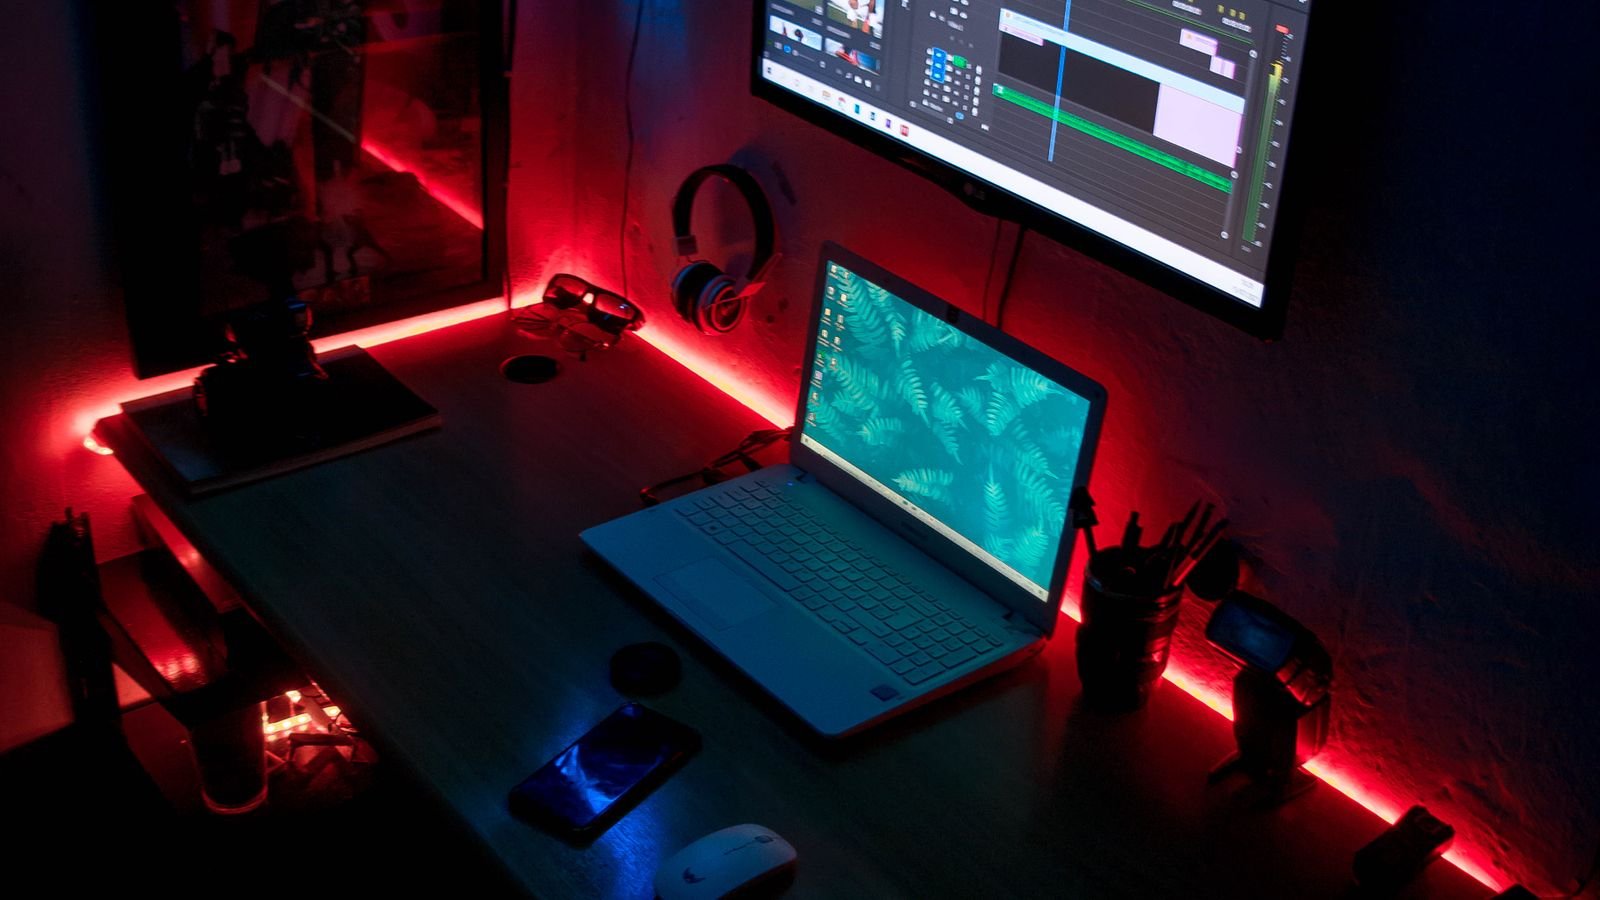
The governing rule of accent lighting: hide the source, show the light. You should see a glow on a surface, never a row of bright dots. That means mounting the strip so the diodes face a wall or ceiling and the strip itself is concealed behind a lip, a shelf edge, a headboard, or a moulding.
Good locations include the underside of a floating shelf, the back edge of a headboard about 4 inches from the wall, the inside top edge of crown moulding, the recess under a kitchen upper cabinet, and the back of a desk facing the wall. Poor locations include the middle of a bare wall, anywhere at direct eye level, and the perimeter of a ceiling with nothing to hide the tape.
Install the Lights Step by Step
- Measure the run and dry-fit it. Unroll the strip along the intended path without removing the backing. Confirm the length reaches, and note where the power end must sit relative to an outlet. Strips can only be cut at the marked copper pads, so plan cuts before you commit.
- Clean the mounting surface. Wipe with isopropyl alcohol and let it dry fully. Adhesive fails on dust, on fresh paint, and on textured or matte surfaces. This is the number one cause of strips drooping a month later.
- Warm the strip slightly. A cold strip resists bending and its adhesive is stiff. A minute in a warm room, or a few seconds of a hairdryer on low, improves both.
- Peel and press progressively. Remove about 12 inches of backing at a time, position, then press firmly along the length with your thumb. Do not stretch the strip taut — it will slowly pull itself off.
- Handle corners properly. Never fold the strip sharply back on itself; that cracks the copper traces. Use a corner connector or cut and rejoin with a solderless clip.
- Add mechanical support on long runs. Every 18 to 24 inches, add a small clip or use an aluminium channel. Adhesive alone rarely survives a year on a ceiling.
- Power up and pair. Plug in the controller, open the app, and connect to your phone. Confirm the whole run lights evenly before you finish routing the cable.
- Route and conceal the cable. Run it along a baseboard, behind furniture, or through a cord channel. A perfect strip ruined by a dangling white wire down the middle of a wall is a wasted afternoon.
Tune the Colors So the Room Looks Designed
Three habits separate a considered room from a chaotic one.
First, limit your palette. Pick one or two colors that relate to something already in the room — a cushion, a rug, artwork — and keep to them. A room lit in a single deep amber looks far more expensive than one cycling through every hue.
Second, drop the brightness. Accent lighting is meant to be subtle. Most strips look best at 30 to 50 percent, where the color is rich rather than glaring. At full brightness, saturated color reads as harsh and flattens the surface it hits.
Third, build scenes, not colors. Save a small number of named presets you will actually use: a bright neutral white for cleaning and getting dressed, a warm low setting for evenings, one saturated accent scene for films or guests. Being able to tap one button beats fiddling with a color wheel every night.
Common Mistakes to Avoid
- Skipping the alcohol wipe. Almost every failed strip installation traces back to this.
- Mounting at eye level. Visible diodes create glare and instantly look cheap.
- Exceeding the power supply. Joining two strip kits end to end usually browns out the far end. Long runs need a larger supply or a second feed.
- Using RGB where you need white. If a fixture is your main light source, it should be RGBW or tunable white.
- Ignoring the strip’s IP rating. Bathrooms and kitchens near sinks need at least IP65; indoor-rated tape will corrode.
- Buying too little. Measure and add roughly 20 percent. Splicing in an extra section later rarely matches in color.
Frequently Asked Questions
Will LED strips damage my paint?
They can, especially on freshly painted or low-quality wall finishes. Mount on trim, shelves, or furniture where possible, or fit an aluminium channel screwed to the surface. To remove a strip, warm it with a hairdryer and peel slowly at a shallow angle.
Can I cut a strip and still use both pieces?
Yes, if you cut exactly on the marked line between copper pads. The powered section works normally; the offcut needs a connector and its own supply to work again.
Why do my two strips show slightly different colors?
LED bins vary between production batches, so strips bought at different times rarely match precisely. Buy all your strip for a room at once, ideally from the same order.
Do color-changing lights use much electricity?
Very little. A 16-foot strip typically draws under 24 watts at full white, and far less at the dimmed accent levels you will actually use.
Should I choose Wi-Fi or Bluetooth control?
Bluetooth is simpler to set up and works without a network, but only within the room. Wi-Fi allows voice assistants, schedules, and remote control. If you want the lights to turn on automatically at sunset, choose Wi-Fi.
Final Thoughts
A color-changing LED makeover succeeds on restraint. Keep functional lighting white, hide every strip so only its glow is visible, pick a small palette that echoes what is already in the room, and run everything dimmer than you think you should. Do that and a project costing less than a single piece of furniture will change how the entire space feels — at breakfast, at your desk, and at midnight. Start with one wall or one shelf, live with it for a week, then extend the idea to the rest of the room once you know what you actually enjoy.