 Owen Bradley
LED strips have become the default way to transform a bedroom, and for good reason: they are inexpensive, easy to fit without any wiring work, and capable of producing effects that would cost a fortune in traditional fixtures. But there is a large gap between a strip stuck haphazardly around a wall and a properly designed bedroom lighting scheme. The difference is planning — deciding what each run of light is meant to do, hiding the source so you see the glow rather than the diodes, and layering warm ambient light with practical task light. This guide walks through designing and installing a bedroom LED strip scheme that looks intentional rather than improvised.
Start With a Plan, Not a Roll of Tape
The most common mistake is buying a strip first and deciding where it goes afterwards. Work the other way around. Ask what each light run is actually for.
- Ambient — soft general light that fills the room without glare. Usually cove lighting near the ceiling or an uplight behind the headboard.
- Task — focused light for reading in bed, dressing or working at a desk. Needs to be brighter and directional.
- Accent — light that highlights something: artwork, a shelf, an alcove, the underside of the bed frame.
- Night — very low-level light for safe movement after dark without waking yourself fully.
A good bedroom scheme uses at least three of these, controlled separately. One bright strip doing everything is exactly what makes a room feel like a dorm rather than a designed space.
Choosing the Right Strip
- Density. At least 60 LEDs per metre, ideally 120 or more. Low-density strips show individual dots when reflected off a wall or ceiling, which instantly reads as cheap.
- Colour temperature. For bedrooms, warm light at 2200K to 3000K is far more restful than cool white. If you want flexibility, tunable white strips shift between warm and cool.
- RGB, RGBW or white only. Pure RGB strips make poor white light — their “white” is a muddy blend of three colours. If you want both colour effects and usable white, choose RGBW or RGBWW, which include dedicated white diodes.
- Brightness. Around 400 to 800 lumens per metre suits bedroom ambient use. Very high output strips are hard to dim low enough to be restful.
- Dimming. Confirm the strip and its controller dim smoothly to a low level. Poor dimming that cuts out at 20 percent is a real limitation in a bedroom.
- Adhesive quality. Cheap adhesive backing fails within months, especially on painted walls. Plan to use channel or mounting clips for anything permanent.
Comparing options among the best LED light strips for bedroom use will show how density, colour handling and controller features differ, and looking at dedicated LED strips for bedroom installations helps clarify which kits include the diffusers and mounting hardware you will actually need.
Where to Put the Strips
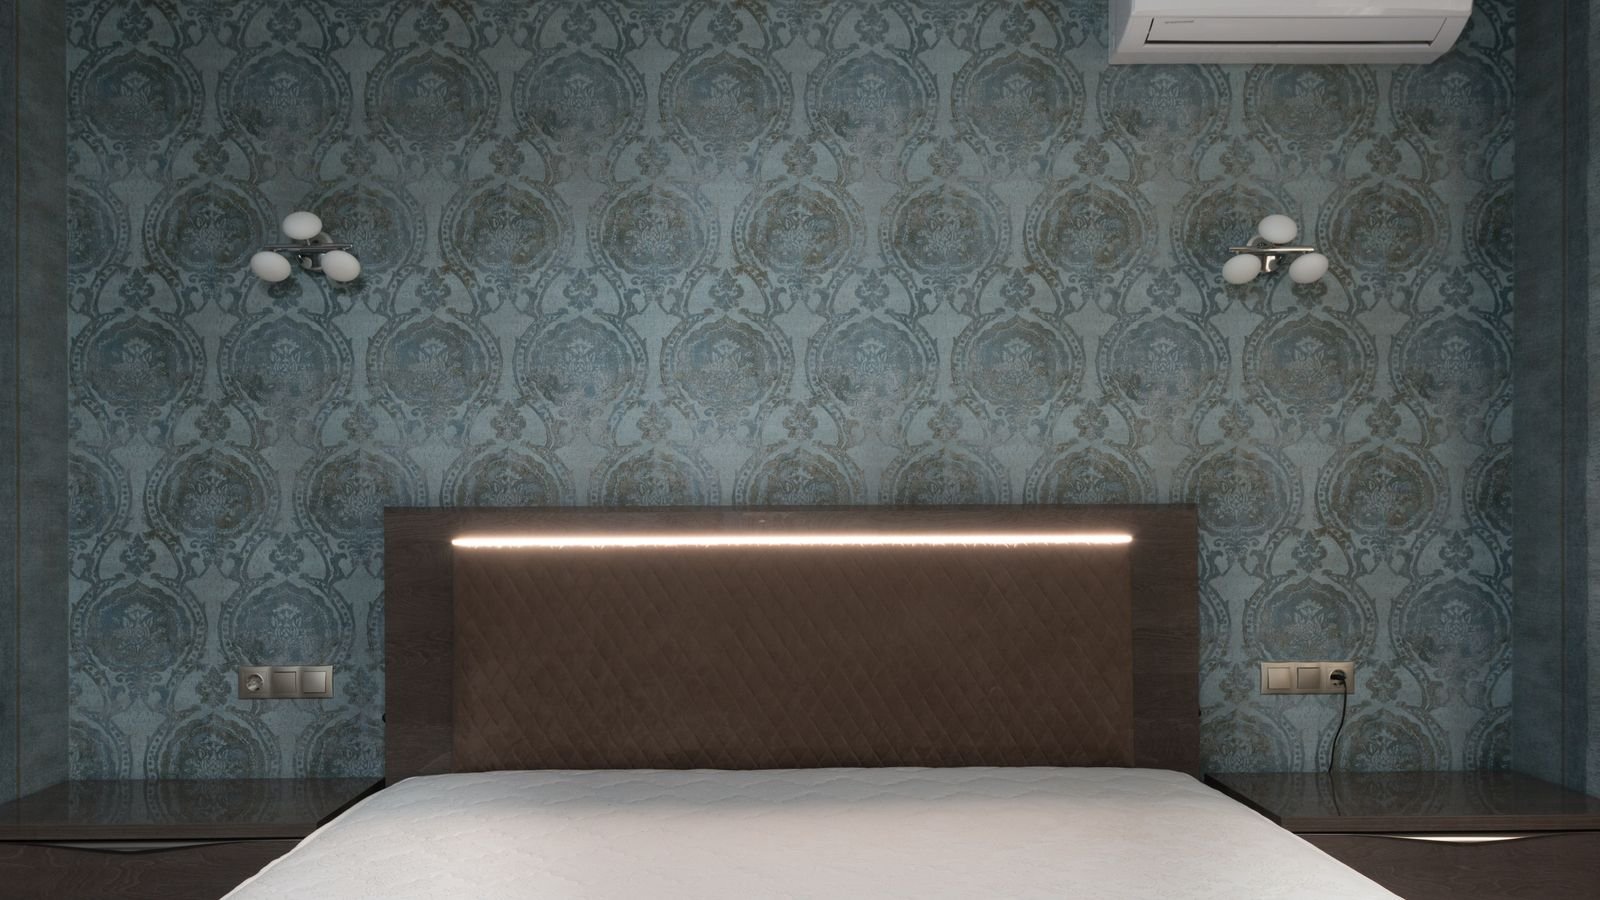
- Behind the headboard. The single most effective placement. Mounted on the back of the headboard facing the wall, it throws a soft halo that makes the bed the focal point without any glare toward your eyes.
- Ceiling perimeter or cove. Aimed upward, this bounces light off the ceiling for even, sourceless ambient illumination. Needs a lip, cove or moulding to hide the strip.
- Under the bed frame. An excellent night light. Low, soft and out of your sightline, it lets you find your way to the door without full illumination.
- Behind a wall-mounted TV. Bias lighting reduces eye strain by lowering the contrast between the bright screen and the dark wall.
- Inside or under wardrobes and shelving. Genuinely useful task light where overhead fixtures cast shadows.
- Behind a mirror. Backlighting a mirror gives soft, flattering illumination and makes the mirror appear to float.
Notice that every one of these hides the strip itself. That is the rule: you should see the light, never the diodes. A strip stuck visibly along the top of a wall, aimed into the room, is the surest way to make the installation look like an afterthought.
Installation Step by Step
- Measure the run for each location and add ten percent for corners and slack. Note where each run’s power feed will be.
- Plan power and outlets. Each independent run needs its driver reaching an outlet. Decide now how to route and hide those cables — this is what separates a tidy job from a messy one.
- Test before mounting. Connect each strip to its controller and confirm the full length lights evenly and dims properly.
- Clean the mounting surface thoroughly with isopropyl alcohol and let it dry.
- Fit channel or clips where the run is permanent. On painted walls, adhesive alone will eventually peel and can take paint with it when removed.
- Cut only at the marked cut points and join sections with proper connectors or solder, observing polarity.
- Press the strip firmly into place along its length, working progressively rather than sticking down long sections at once.
- Route and secure the cables, using adhesive clips behind furniture or along skirting so nothing dangles.
- Fit the controller somewhere accessible but out of sight, and pair any remote or app control.
- Test everything again from the bed, at night, with the main light off. That is the condition the scheme is actually designed for.
Controls and Scenes
A bedroom scheme only works if switching between moods is effortless. If adjusting the lights requires unlocking a phone and opening an app, you will stop bothering.
- Use a physical remote or wall-mounted control for the runs you adjust most often.
- Set up scenes: a bright “getting ready” setting, a warm dim “evening” setting, and a very low “night” setting.
- If you use smart strips, put them on a schedule so they dim gradually in the evening automatically.
- Keep the under-bed night light on a separate control from everything else so you can use it alone.
- Avoid strips whose controllers have a bright status LED — a small blue dot glowing all night is genuinely annoying.
Light Colour and Sleep
Bedroom lighting has a job beyond aesthetics. Blue-heavy light in the evening suppresses melatonin production and makes falling asleep harder.
- Use warm light, 2700K or below, for the last couple of hours before bed.
- Amber and red settings on colour strips are the least disruptive to sleep. Blue and cool white are the most.
- Dim as low as is practical in the evening — intensity matters as much as colour.
- Keep night lighting extremely dim and positioned low, below eye level.
- Reserve bright cool white for morning and daytime use, where it genuinely helps you wake up.
Common Mistakes to Avoid
- Mounting strips where they are directly visible. Always hide the source and show only the glow.
- Using one bright strip for everything. Layer instead, with separate control per layer.
- Choosing cool white for a bedroom. It reads as clinical and interferes with winding down.
- Relying on factory adhesive on painted walls. It fails, and it can pull paint off on removal.
- Buying pure RGB and expecting good white light. Choose RGBW if you need both.
- Leaving cables visible. Nothing undoes a neat installation faster than a dangling wire down a wall.
- Ignoring the controller status light glowing in a dark room all night.
Frequently Asked Questions
Where is the best place to put LED strips in a bedroom?
Behind the headboard is the most effective single location, giving a soft halo without glare. Ceiling coves and under the bed frame are the next best, and all three hide the strip while showing only its light.
What colour LED light is best for sleeping?
Warm amber and red tones at low brightness. Anything blue-heavy or cool white in the evening suppresses melatonin and makes falling asleep harder, so save those settings for the morning.
Will LED strips damage my walls?
The adhesive can pull paint away on removal, especially on freshly painted or poorly prepared surfaces. Use mounting clips or aluminum channel for anything permanent, and remove old strips slowly with gentle heat.
Do I need RGB strips for a bedroom?
Not necessarily. A good warm white or tunable white strip produces a more restful and better-quality result. Choose RGBW only if you genuinely want colour effects alongside usable white light.
How bright should bedroom LED strips be?
Around 400 to 800 lumens per metre for ambient use is plenty. What matters more is how low they dim — a strip that will not go below a quarter brightness is limiting in a bedroom.
Final Thoughts
A bedroom LED strip scheme succeeds when it is planned in layers and the hardware is hidden. Decide what each run is for, choose warm, high-density strip that dims smoothly to a low level, mount it behind headboards, in coves and under the bed frame where the source stays out of sight, and route the cables so nothing shows. Set up a handful of scenes you can reach without a phone, keep evening light warm and dim, and give the night light its own control. The result costs remarkably little and completely changes how the room feels after dark.